The benefits of teaching primary school children about DNA
The purpose of this article is to give teachers a tool kit of simple props and cross-curricular activities to help children learn about DNA in a fun, engaging and memorable way.
Why learn about DNA?
Working with DNA is of huge importance in the modern world. It enables us to identify why people get ill, develop gene-targeted drugs, eradicate diseases like malaria, create crops to feed the world, answer questions about the past, catch criminals and learn more about life on earth. In recent times DNA has been fundamental in developing vaccines against deadly viruses such as Corona which threaten our very existence.
There is a podcast being released shortly called “The DNA Detectives” (available on all major platforms) where some of the different uses of DNA described above will be discussed. Scientists involved in the fields of medicine, malaria research, forensic science, archaeology and the Coronavirus will be interviewed by children to find out what their work involves. This is a great way for children to gain science capital.
It is a huge advantage for children to learn about DNA. If children have a solid understanding of the basic concepts of a topic it provides a fantastic platform which through progressive learning can be built on. As their cognitive faculties develop it makes it simpler for children to understand more complicated extensions later on. A child who has learnt the basics of DNA at primary school is likely to find it easier to understand topics like transcription and translation at secondary school.
Learning about DNA enables children to make sense of topics such as “Evolution and Inheritance”. How can you understand evolution if you don’t know about the vehicle driving it? How can you understand variation if you don’t know the cause? Teaching children about evolution without reference to DNA could inadvertently support the development of potential misconceptions which are hard to correct.
In learning about DNA children are learning to work scientifically, to make hypotheses and test them, recognise patterns, practice hands-on science and relate the work they are doing to the real world. This topic is fantastic in terms of science capital with plenty of opportunities to look at subjects in more detail from a multitude of sources including museums, books, scientific articles, podcasts and talking to scientists.
The Hook
Every new topic needs a good hook to get children engaged and interested. Equipped with the right book, teachers have the ammunition to hook a class on a topic, get them on board and motivated to learn. This topic can then be brought to life through a story.
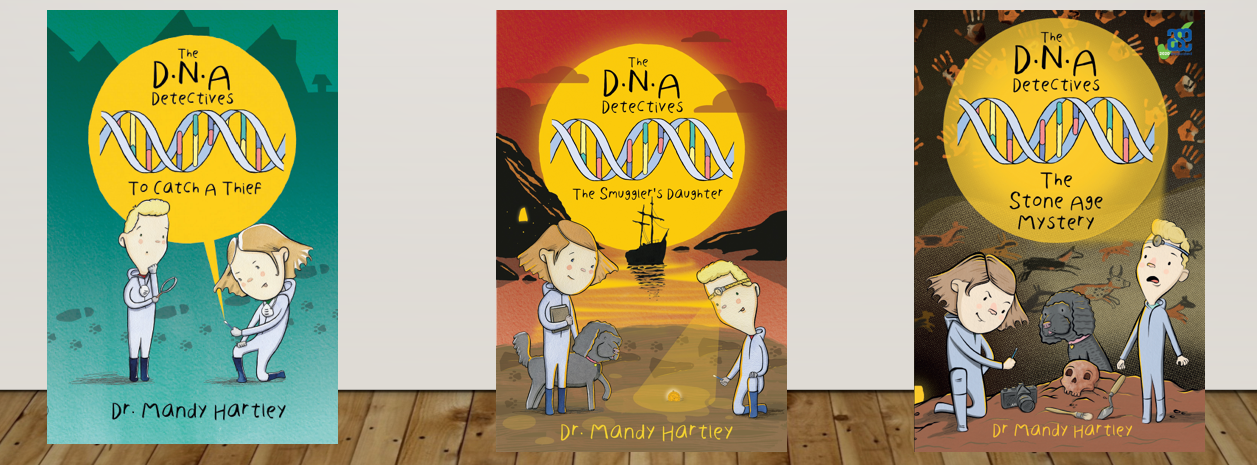
The “DNA Detectives” series of books are perfect for this topic (“The DNA Detectives – To Catch a Thief”, “The DNA Detectives – The Smuggler’s Daughter” and “The DNA Detectives – The Stone Age Mystery)
They provide an exciting, page-turning story where DNA is used to solve a crime. Having an exciting fictional text is likely to engage more readers than a non-fiction text on this topic. It also presents the subject in a relatable way. Most importantly, the story reinforces what is being learnt in the classroom.
So, where do we start? The first step is to find out “What is DNA?”
What is DNA?
Teaching children about DNA builds on their previous knowledge of living things and parts of the body. The most successful approach is to put simple ideas in place first and build on them in an order that is logical to children. This helps children understand more complicated concepts later on. The first thing they want to know is “What is DNA?”
Lego is something children can relate to and provides a fantastic analogy for learning about DNA. Show the children a Lego kit and ask what they need to make the model. The answer is “instructions”. Humans and all living things are just like Lego. They need a set of instructions to build them and make them work. These instructions are their “DNA” which is short for “Deoxyribonucleic Acid”.
Discuss what things are in their instructions. Start with an example “hair colour, lungs, brain etc”. Ask them to stick out their tongues. Can they roll their tongues? Are their ear lobes attached to their heads or free to dangle? Do they like Brussel sprouts? All these things are contained in their instructions, their DNA. This is a great opportunity to encourage children to write their own set of instructions. Get them to have a look in a mirror and then write ten instructions to make them e.g. To make Anna you will need; one set of brown eyes, freckles etc.
The use of familiar visual props like Lego enables children to understand the concepts and repeating new scientific vocabulary in-class discussion helps these words become familiar and memorable. The new vocabulary is also explained in each of the books in “The DNA Detectives” series. Reading this alongside the lesson helps to reinforce learning.
If children want to find out more, they can read an interesting story of how the structure of DNA was discovered and the controversial story as to whether they stole key information from Rosalind Franklin to complete their data. This is also covered in “The DNA Detectives – The Stone Age Mystery” (this book has a series of weblinks and as well as science, is a great accompaniment to teaching the history of the Stone Age). This is perfect for building on science capital.
www.yourgenome.org/stories/the-discovery-of-dna
www.yourgenome.org/stories/giants-in-genomics-rosalind-franklin
Now they know what DNA is, children are naturally curious to discover where DNA is found and how big it is?
Where do we find DNA? How big is DNA?
DNA is found in the body in a special bag called a “cell” which protects it from damage. In the middle of the cell is the “nucleus” which contains the DNA and is surrounded by a jelly-like substance called “cytoplasm”. Around the outside of the cell is the “cell membrane” which holds everything in place and lets chemicals in and out. Showing a labelled picture of a cell, or a model of a cell and getting the children to repeat the specialist vocabulary helps children remember these terms and understand the concept of a cell.
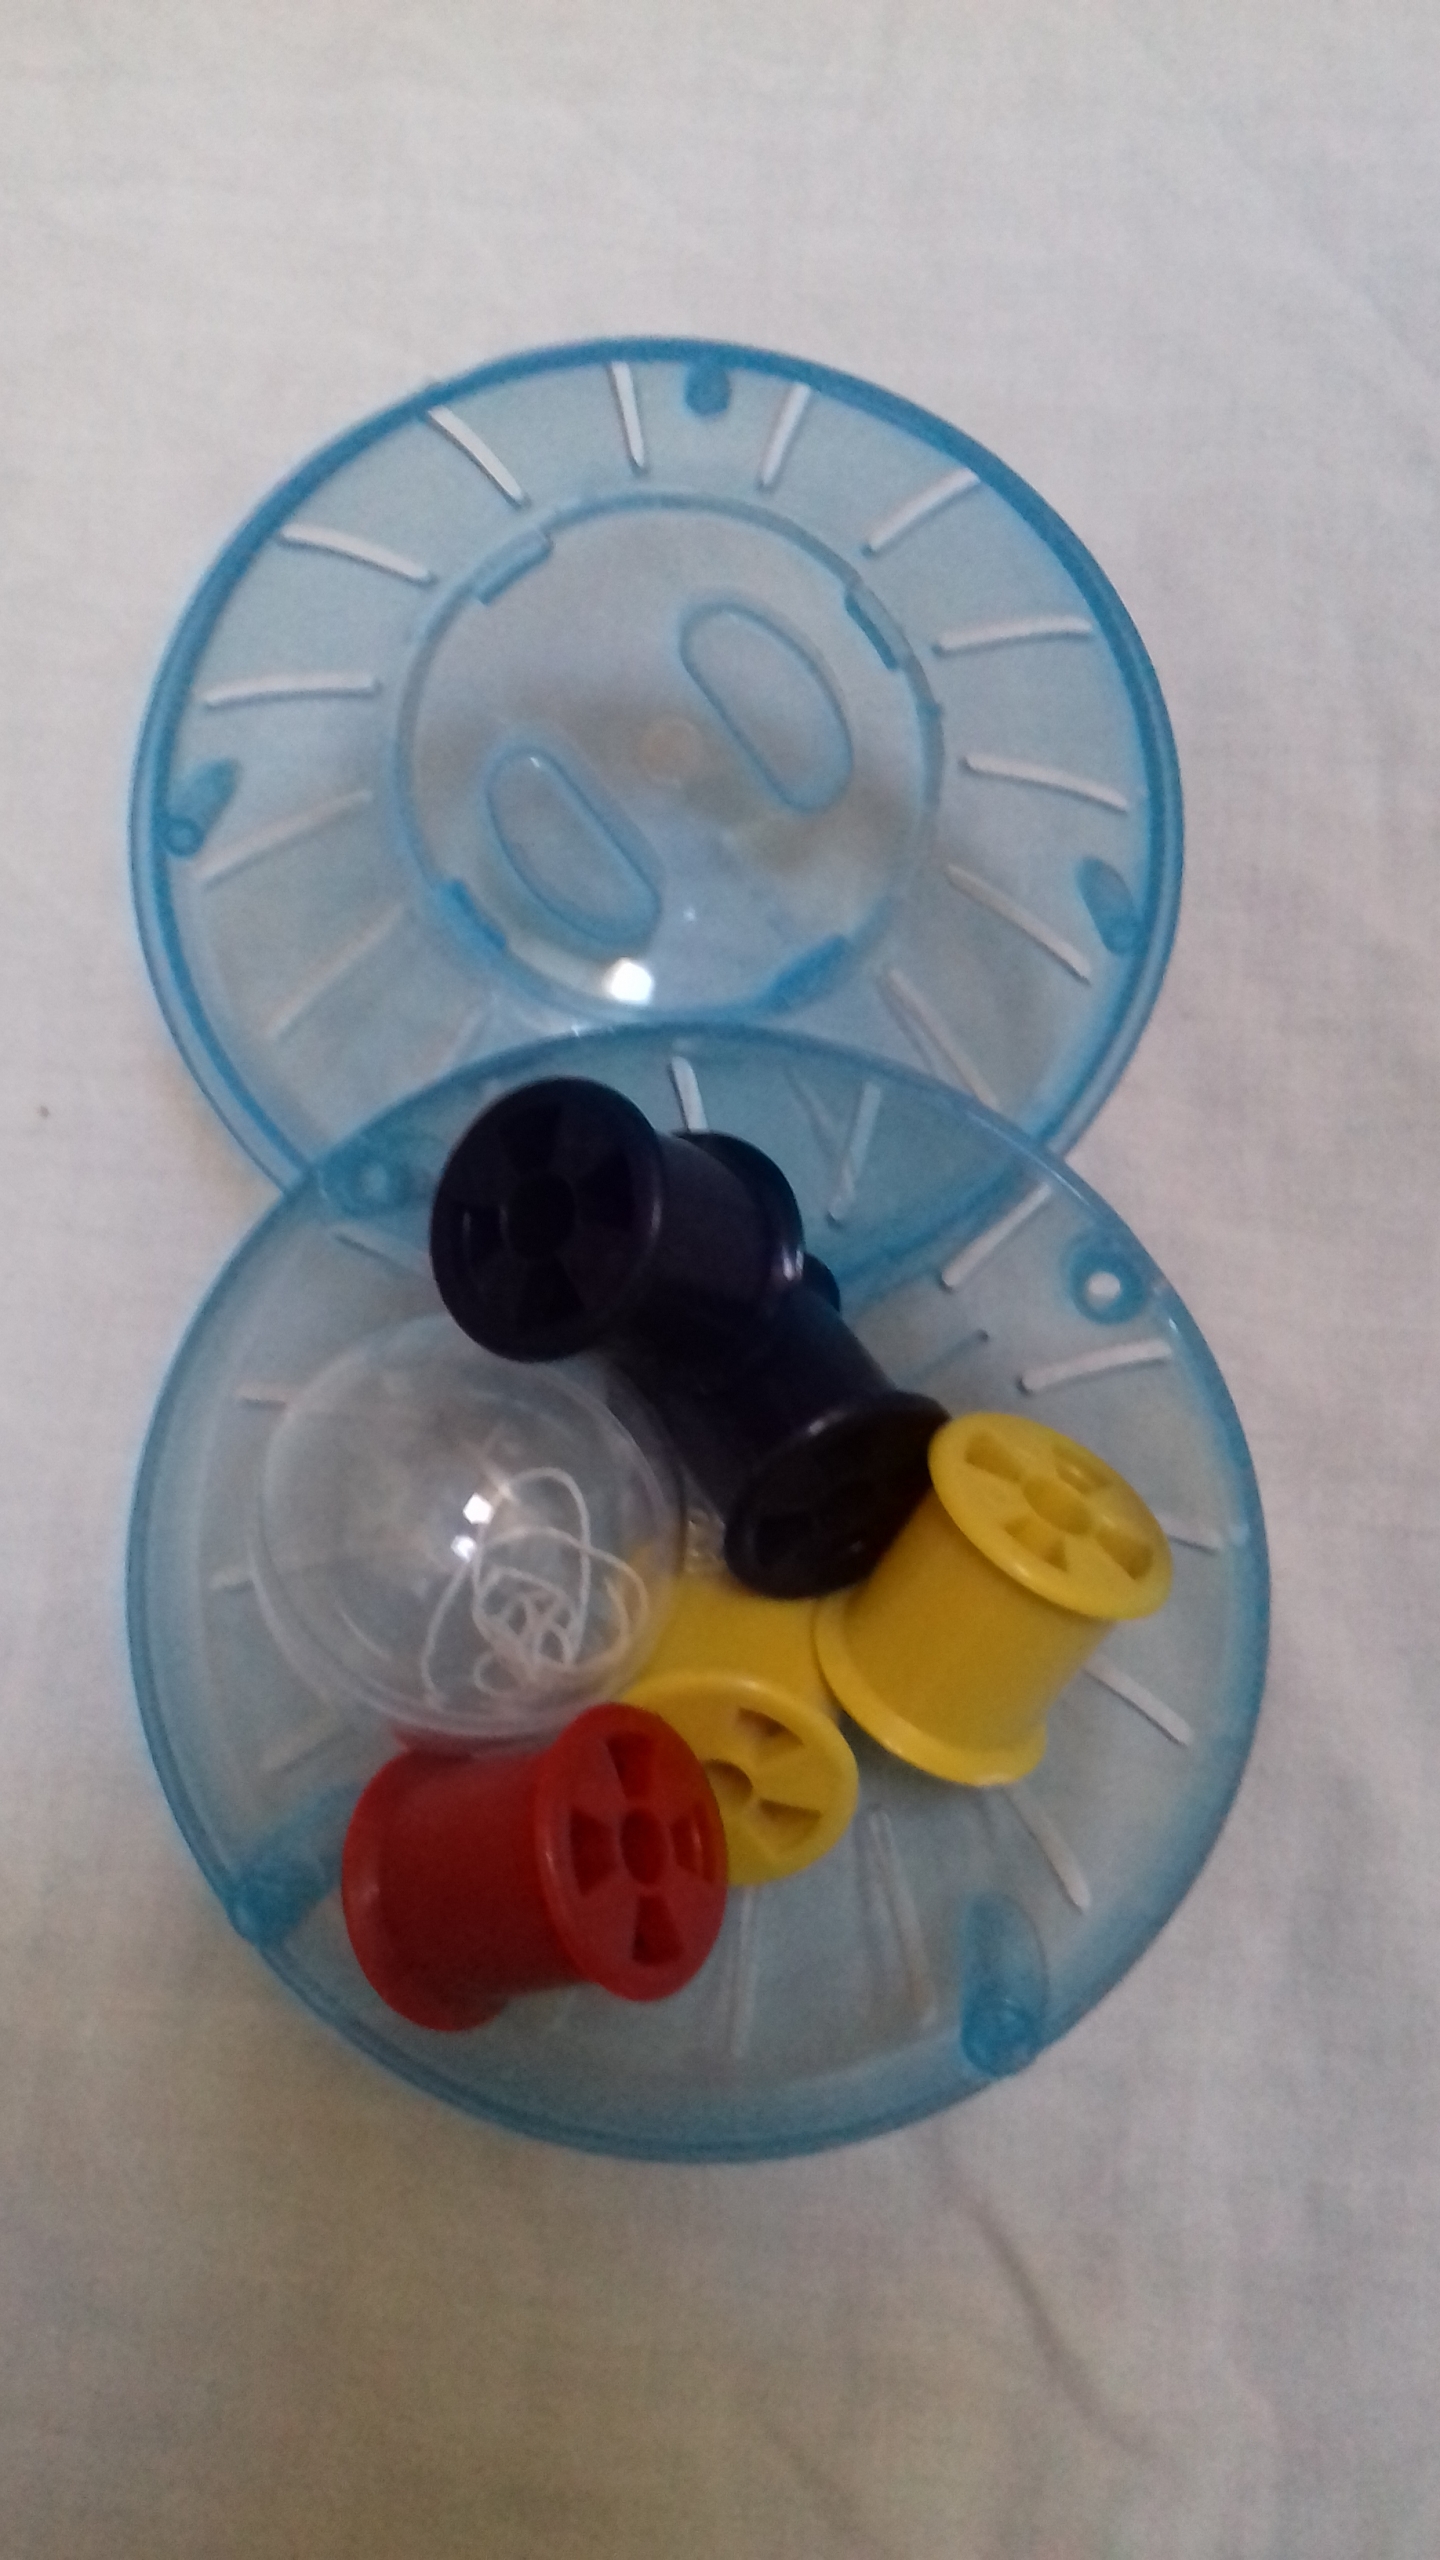
Models of cells can be made from gel/air-filled packaging or bubble wrap. Large hamster balls can also be used either with a smaller hamster ball inside (the nucleus) containing 23 pairs of chromosomes made of twisted rope or a small hamster ball with a clear Christmas bauble inside (the nucleus) filled with white string.
A game of operation is a fun way to get children thinking about where cells are in our bodies. Get them to point to a different body part and make the patient’s nose glow. Ask “what parts of the body are here and are they made of cells?” The children will get the idea that everything on the inside and outside of the body is made of cells and inside the cells is the nucleus which is full of DNA. The only cell in the body which doesn’t have DNA is the red blood cell because it doesn’t have a nucleus.
Get the children to guess how many cells there are in the body. The answer is 37 trillion. You can think of it as 37 trillion seconds which is equivalent to 1, 167, 202 years. Use increasingly smaller items such as raisins, coffee granules, sugar and sand. Ask if DNA is smaller than each item? DNA is so small you need a microscope to see it. You can show children pictures of microscopic cells from different parts of the body.
This learning can also be reinforced by reading “The DNA Detectives” books. They all discuss what cells are and how cells in our body are used by Scene of Crime Officers to collect evidence from Crime Scenes. This also helps children relate what they are learning to the real world as well as repeating the new vocabulary in a different context. You could recreate some of the crime scenes from the stories and get the children to think about where the cells would be as they collect their DNA evidence to catch a thief!
Get the children to draw a cell or make cell cookies. Junk modelling is a great way to get children thinking about what cells look like. Clear containers such as salad/dip/fruit containers with a lid (humous, strawberries etc), clear water bottles or take away boxes. Use cake case containers for the nucleus with white wool inside or small clear pots, spice bottles, tic tac containers, cocktail stick holders etc. Put white wool inside the nucleus for the DNA. Get children to label the cell membrane, cytoplasm, nucleus and DNA.
So now the children understand what DNA is, where it is found and how big it is (For a demonstration of presenting all these ideas we have discussed so far you can click on this video www.youtube.com/watch?v=W7t1pVVjQr4). To really build on what they have learnt and to create a mental image of DNA in their minds the next step is to see DNA for themselves.
What does DNA look like?
Turn your class into a laboratory and get the children to extract DNA from different fruit e.g., strawberries and bananas. Their challenge is to become real scientists and determine which fruit contains the most DNA. Using scientific enquiry this hands-on experiment will consolidate learning from previous activities. The multi-sensory aspects will appeal to different types of learners making the activity engaging and memorable. This is also a fantastic opportunity to enhance science capital and encourage our next generation of scientists!
The methodology for extracting DNA from fruit using simple equipment and chemicals is shown in the following video clip. There is also an explanation of what is happening to the cells and what the different chemicals do; www.youtube.com/watch?v=W7t1pVVjQr4 (watch from 16.30 minutes)
You will need:
- Safety glasses
- Two clear glasses/cups
- Ziploc bag/plastic bag which you can seal at the top
- Banana (you can use other fruit as long as it is easy to mash up)
- Blunt knife and teaspoon
- Plate/chopping board
- Measuring jug
- Either a colander/sieve/tea strainer
- Either a coffee filter/dishcloth/paper towel
- Black paper/card/black t-shirt/black jumper
- Vodka/surgical spirit/rubbing alcohol (keep in the freezer)
- 4 teaspoons salt
- 2 teaspoons washing up liquid
- Warm water
- Skewer (optional)
A great tip is to use a black card under the beakers when precipitating the DNA as it will make it easier for the children to see the DNA appearing.
Worldwide scientists are extracting DNA every day. They may use smaller tubes and slightly different chemicals than in this experiment but the process is the same. They could be extracting human, animal or plant DNA. Ask the children to brainstorm what kind of things scientists use DNA for e.g. forensics, archaeology, to study animals, to see if someone has a disease, to help farmers get better crops etc. If children can see how working with DNA affects their lives it makes it relevant to them.
Get the children working collaboratively, sharing ideas to hypothesise which fruits have the most DNA and why. Which fruit is squashier making it easier to break down the cells and extract DNA? How can we make it a fair test? i.e. use the same amount of fruit or chemicals. How will we measure how much DNA there is? What will DNA from different fruits look like?
Get the children to use technology to communicate, record and compare the results e.g. iPad, videos, photos. Observation skills will be important to make valid conclusions. The results are another opportunity for discussion and to develop a deeper understanding. Which fruit had more DNA? Why were some groups more successful than others at getting DNA? Do cell walls in some fruit break down more easily? Did the groups do anything differently that could have affected their yield of DNA?
Reading helps to reinforce what the children have just learnt. In “The DNA Detectives – To Catch a Thief” and “The DNA Detectives – The Stone Age Mystery” the children break into their Mum’s laboratory and extract DNA from their evidence. In “The Stone Age Mystery” there is the added excitement of seeing how DNA is extracted from ancient bones. This links into how scientists can use DNA to answer questions about the past.
There is a great website where children can go online and extract DNA in a virtual laboratory. It gives them a glimpse of what working in a real laboratory is like;
https://learn.genetics.utah.edu/content/labs/extraction/
A lovely activity to do with the children is to put a picture of a DNA Helix on the white board. Get the children to draw it on black paper with chalk. They could even draw a DNA helix on the playground with chalk. This activity really gets them to examine the spiral shape of the DNA helix. There are some other fantastic activities like writing a poem about DNA, making a DNA helix out of sweets, an origami helix and DNA bracelets at the following site; www.yourgenome.org/activities/dna-discovery-pack and www.yourgenome.org/activities/sequence-bracelets.
By completing these activities, the information is repeated in different ways so it can be reinforced, remembered and understood. When you talk about DNA children will now be able to visualise what it looks like and understand what it is. This is key in enabling them to understand the next stage of the conceptual framework and how we get variation.
Introducing the concept of variation
A great way to introduce this concept is to get the children to observe variation in their own features. Which features are inherited from their parents and which are not? How many different types of hair, eye colour etc are there in the class? The weblink below explains how to facilitate this in the classroom.
https://teach.genetics.utah.edu/content/heredity/files/InventoryOfTraits.pdf
Get children to think about what makes variation happen? What makes one person’s hair blond and another brown? The answer is DNA which you inherit from both your parents.
It is small, random changes in the DNA, “mutations” that give us our variation and there is a great way to demonstrate this! What makes this a fantastic demonstration is that it is something that children can relate to and also links to real-world science.
Start with the discovery of a bone, skull or skeleton in the classroom. The class is going to use DNA to discover what this ancient person would have looked like!
Our alphabet has 26 letters. DNA is like the alphabet but it has just four letters A, C, G and T and they form a pattern or sequence which make up the instructions. To find out what our mystery person looked like we are going to look at their DNA (genes) for hair, eye and skin colour and compare it to DNA from known reference samples.
To make the DNA from your mystery person use indoor hockey balls of 4 different colours which have holes in them or soft play balls linked together with string. Use about ten balls for each gene and link them together on the same string it doesn’t matter what the sequence is.
To make the reference sequences for each gene create one DNA sequence which matches the mystery gene, the others should vary by changing one letter e.g. so if our mystery person has black hair the reference sequence should match the mystery person. The other hair colours you use e.g. ginger, blond won’t match.
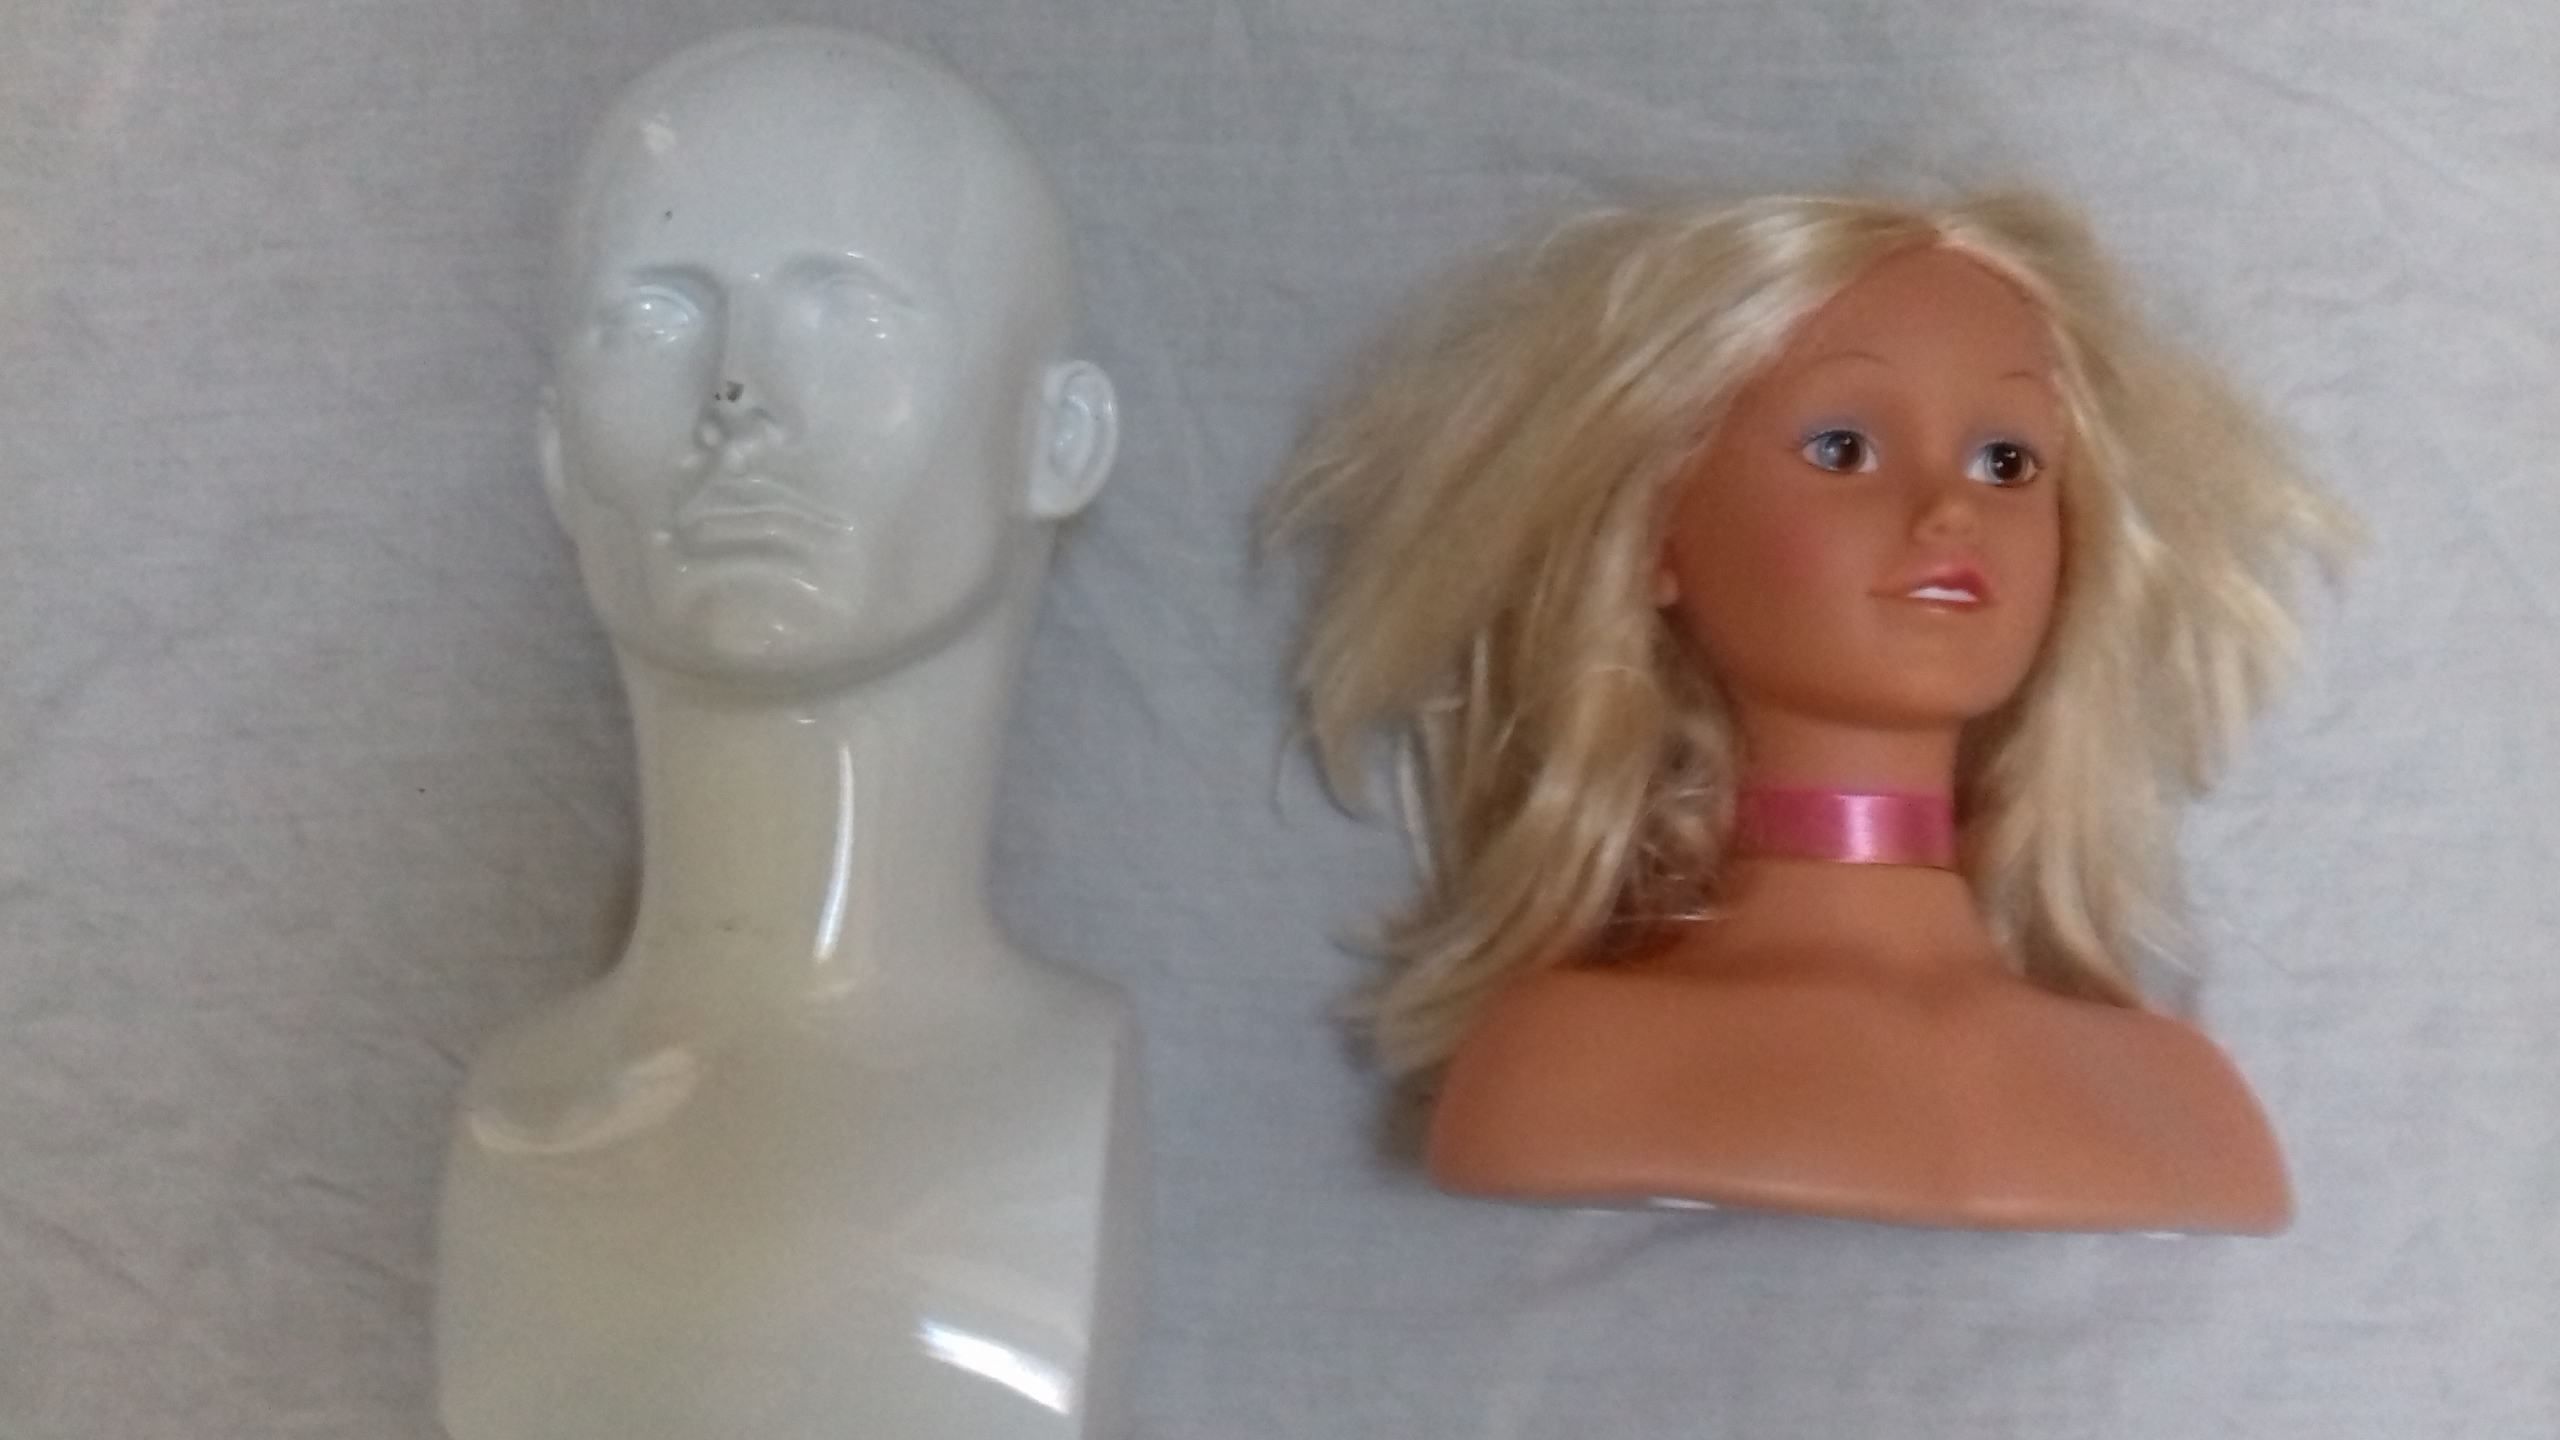
Get the children to match the reference sequences with the mystery sequence. A Girl’s World or model head (insert photo 4) can be used to build up an image of what the person looks like. Wigs/wool can be used for the different hair colours, tights for skin colour and eyes made out of card.
Scientists use this technique of comparing DNA to reference sequences in real life to predict what someone looks like. However, they use computers and instead of 10 letters, each gene can be 1000’s of letters long. Instead of one gene, hair and skin colour are determined by at least 13 genes for each feature. Scientists have recently discovered that eye colour is controlled by about 50 different genes! (www.kcl.ac.uk/news/50-new-genes-eye-colour).
Scientists from the Natural History Museum have used DNA to establish what “Cheddar Man” looked like. They successfully extracted DNA from the 10,000-year-old skeleton which was discovered in Gough’s cave in Cheddar. Children will be really wowed by how the activity they have just done is actually being done by scientists in real life. Even more exciting are their findings which are incredible.
https://www.theguardian.com/science/2018/feb/07/first-modern-britons-dark-black-skin-cheddar-man-dna-analysis-reveals
https://www.youtube.com/watch?v=lWDWVDu01P0
Get the children to observe and compare the patterns for the reference sequences for each colour. How are they different? These differences are called “mutations”, they happen by chance and are the cause of variation in skin, hair and eye colour.
There is a great activity that can help reinforce this learning where the children have to identify what skeletons would have looked like from their DNA
www.yourgenome.org/activities/recreate-a-face
In addition, within the storyline from “The DNA Detectives – The Stone Age Mystery” the children discover an ancient skeleton. They discover how scientists find out what the skeleton looks like using DNA. It repeats what the children have learnt in the lesson and describes what DNA, chromosomes, genes, mutations and inheritance are. There are also great links where children can find out more about the work of real-life scientists.
Now children understand what DNA is and how we get variation, they will find it easier to understand the next step in the conceptual framework which is to demonstrate how mutations can lead to adaption and evolution. Following on from this activity using the example of the Peppered Moth, where a mutation led to a change in colour of the moth is a great way to introduce adaptation and evolution. There is a fantastic book you can use to tell the story called “Moth”, by Isabel Thomas.
All these stories and activities have been designed to help children have fun and engage with this topic in a memorable way. Most importantly the aim is to inspire children with a love of science and literacy. This hopefully, will encourage the next generation of much-needed scientists.